How to Successfully start Seeds for your garden indoors
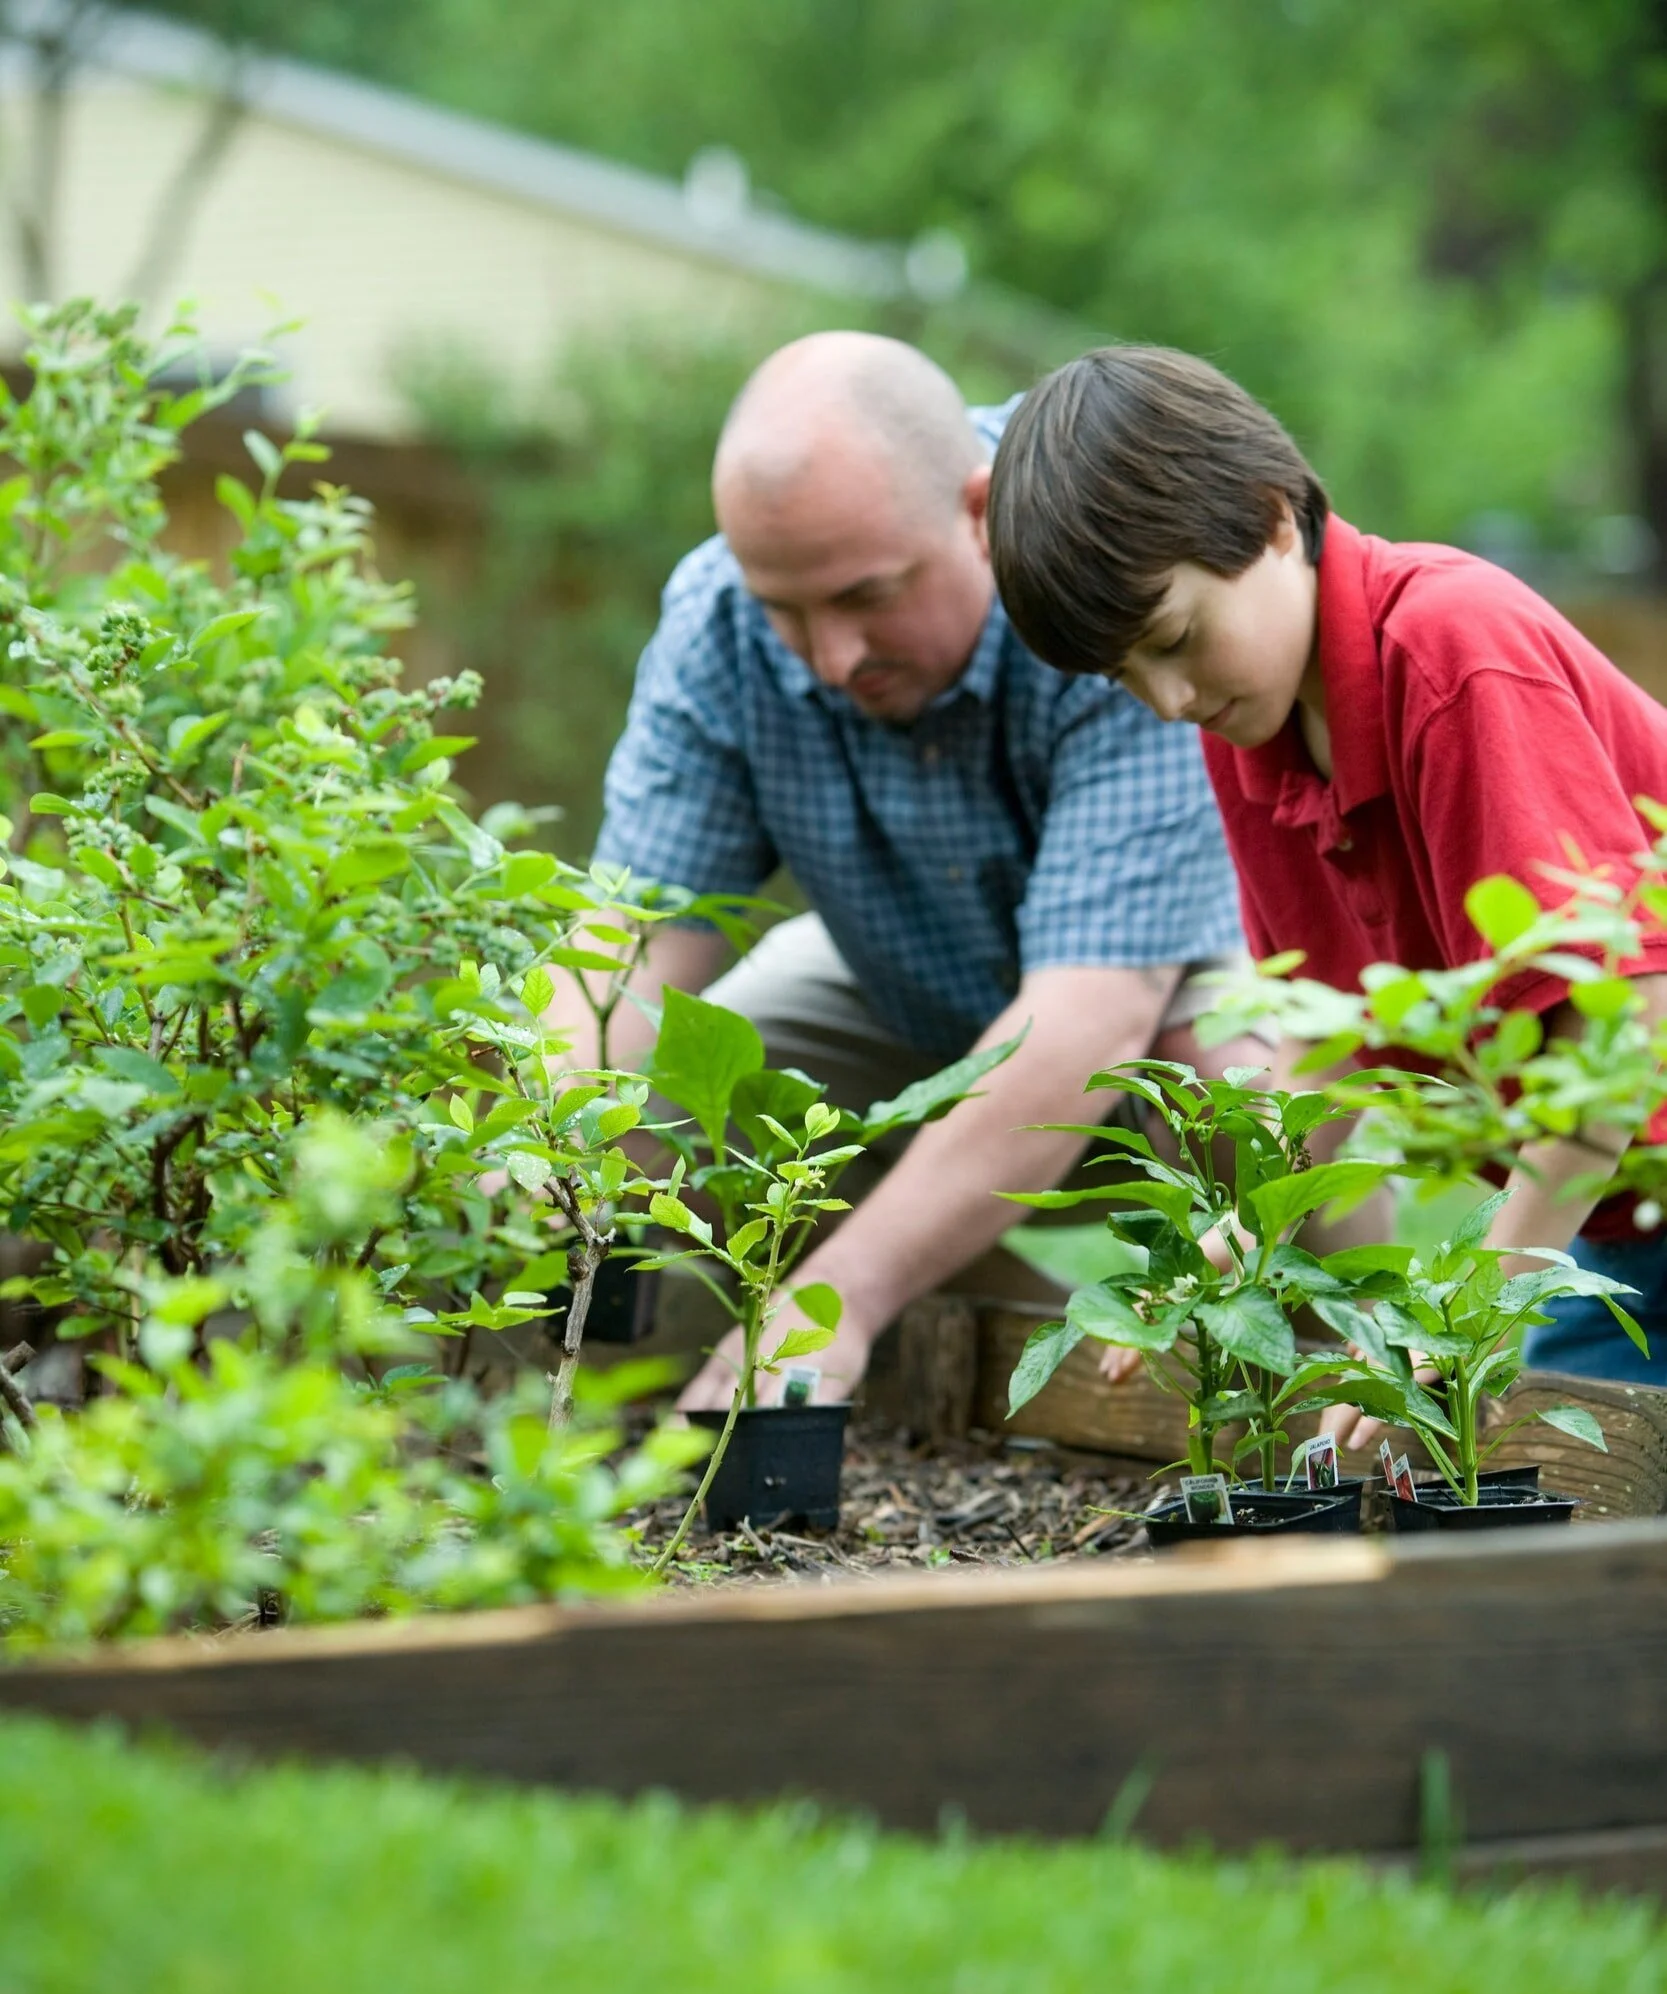
Gardening is a great activity to do with kids. It teaches hard work, patience, and commitment. It will take all three to successfully take a plant from seed to either flowering or harvest. The reward at the end is a sense of accomplishment and good food for the entire family.
In Southeast Wisconsin, we typically start planting our gardens in May, after the risk of frost. According to the Almanac, our last frost occurs around April 29th on average. Once we’re a few weeks beyond that date, we’re almost guaranteed not to see frost. At this point, your local garden center will be fully stocked with plants and vegetables that have been grown in a greenhouse and are ready to be transplanted in to your garden.
Those are great options, but if you’re looking for more of a challenge, or get an early case of spring fever, you can get a head start on your garden by starting seeds indoors. Now’s the time to start!
Needed supplies and preparation
The first thing you need to grow seeds indoors is light. The most inexpensive way to grow seeds indoors is to have a southern-facing window that lets in a lot of light. Not everyone has that, and even if you do, the light may be filtered and not strong enough to grow seeds successfully. The alternative is a grow light. A grow light, while more expensive than just using natural light, is more consistent and allows you to start your seeds anywhere in your house, even in a basement with limited to no natural light.

There are many options when it comes to grow lights. You can find bulbs that can be screwed into most standard light fixtures. You can find smaller lights the size of a standard seed tray that come with a stand. I’ve had success with one like this from Sunblaster. (note – not an affiliate link or ad, just a product I’ve used that works.) If you want to start several seed trays, then you’ll want to look at larger lights. I currently use two of these and they work great. Lights come in fluorescent or LED. Since you will have these lights on in your home for 14-16 hours a day, I recommend LED for energy savings.
The next item you need is a heating pad. Warm soil helps with seed germination and helps maintain a damp environment inside the tray when you’re starting out. You can get a heating pad that is the size of a standard seed tray for $20-$40. I use this one from Jump Start. The heat pad will stay on 24-hours a day for the first couple of weeks and is no longer needed once your seeds have sprouted. Once they’ve reached that point, most of your seedlings will prefer cooler soil.
You will need a seed tray and some type of seed starting medium. Many garden centers sell these together as a kit. They typically consist of the tray, a dome lid, and a certain number of peat pellets depending on the size you get. Peat pellets look like little pucks of dirt that when submerged in warm water, will soften and expand. You can also find trays that come filled with seed starting potting mix. I’ve had success using both.
Of course, for this to work, you’ll need seeds. There are many seeds you can start indoors, and also some seeds that you’ll want to avoid. The Almanac has a comprehensive list here that I use as a reminder. Most herbs, many flowers, peppers, lettuce, tomatoes, and many more vegetables make great candidates. Avoid anything like carrots, radishes, beets, corn, and others that have more sensitive roots. They may not react well to being transferred into your garden. When in doubt, consult the Almanac.
Getting Started

Now that you’ve purchased your equipment and picked out your seeds, you are ready to get started. Timing is important. Most seeds will take 4 – 6 weeks to grow to the point where they are ready to transplant into your garden. If you start too early, and there is still a risk of frost outdoors, you will most likely reach the point where you will need to transplant your seedlings into a larger pot or risk them outgrowing their space and dying before you can get them outside and planted. As stated earlier, the last frost occurs around April 29th on average in Southeast Wisconsin, so now’s a great time to start your seeds. If you are growing herbs, and you plan to keep those indoors, you can start those at any time. The back of your seed packet should tell you the right time to start indoors as well as the depth in which you will want to plant your seeds in the growing medium.
The next step is to prep your seed tray and planting medium. If you used the peat pellets, follow the prep instructions and submerge them in water and let them expand. If you purchase a tray already filled with seed starting soil, pour water over the dirt and mix it so the soil is damp throughout. Plant your seeds at the appropriate depth and cover them with dirt. I’d sow 2-4 seeds per pellet or tray space to give you a better chance at success. Don’t forget to label what you’ve planted. You can buy labels at most garden centers, or just make your own. Set the dome on top of the tray.
Place the tray directly on the heat pad, and put the light you chose directly above the top of the dome. You can set it so it’s just a few inches above the dome. Keep the heating pad on 24-hours a day and turn the grow lights on when you wake up and off when you go to sleep. Now you wait.
What’s Next

Within a week, you may start to see your first sprouts. Once several of your seeds have sprouted, you can prop open the dome to add more air. When the majority of seeds have sprouted, you can remove the dome and turn off the heat pad. If your growing medium begins to look dry, water lightly as needed. A spray bottle works great. Eventually, you will want to thin out the seedlings so that you are left with one strong seedling per pellet or tray space. This helps provide more growing space for the remaining seedling.
Continue to monitor your seedlings. If they look like they are outgrowing their space, you may need to temporarily replant them into a larger pot until they are ready for the garden. Otherwise, get your outdoor garden space prepped and keep an eye on the temperatures so you know the right time to transplant outdoors. Once transplanted, continue to water as needed and look forward to harvesting in late summer or early fall. Good luck!
Follow us on Facebook to stay up to date on added content and family activities happening in our area!
