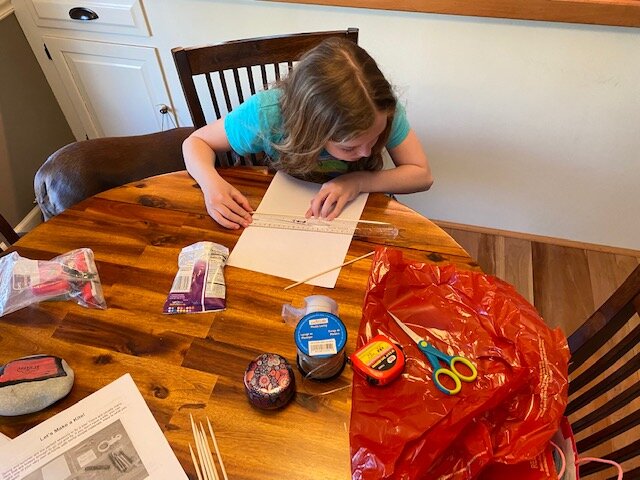
arts and crafts with Teacher Toni - Let’s Make a Kite
In this edition of Arts and Crafts With Teacher Toni, we take on a project from the Urban Ecology Center In My Backyard Program, one of the featured activities in our article, Five Ways to Get Your Family Outdoors and Active This Spring in Wisconsin.

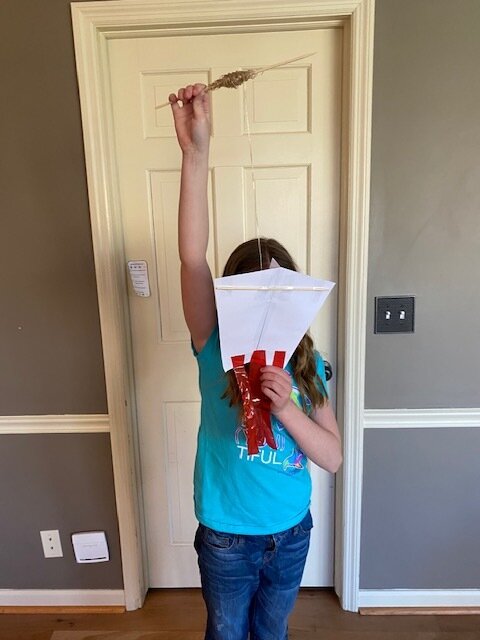
Project - Let’s Make a Kite
Materials Needed - paper, bamboo skewer, kite string, ribbon, stick, tape, pencil, ruler, scissors, hole punch, coloring utensils. See a full list of materials needed here.
Instructions - Download and print instructions from the UEC In My Backyard Program here.
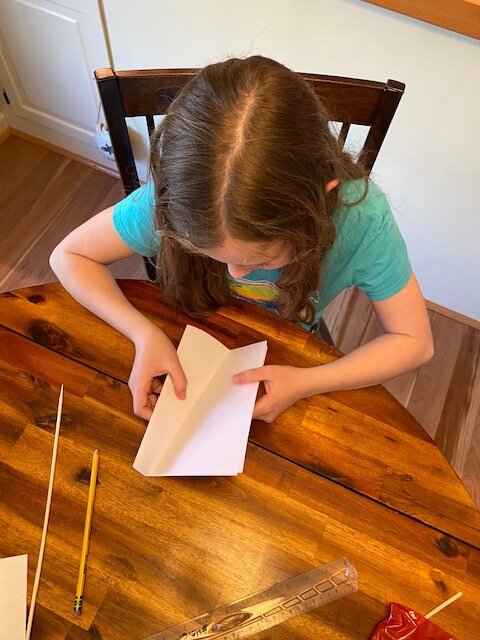
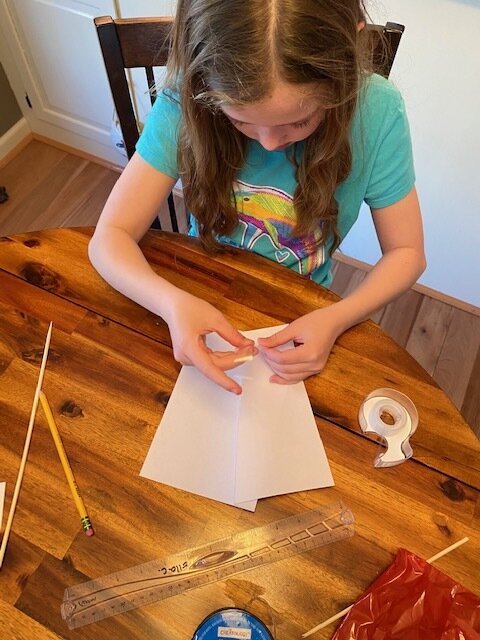
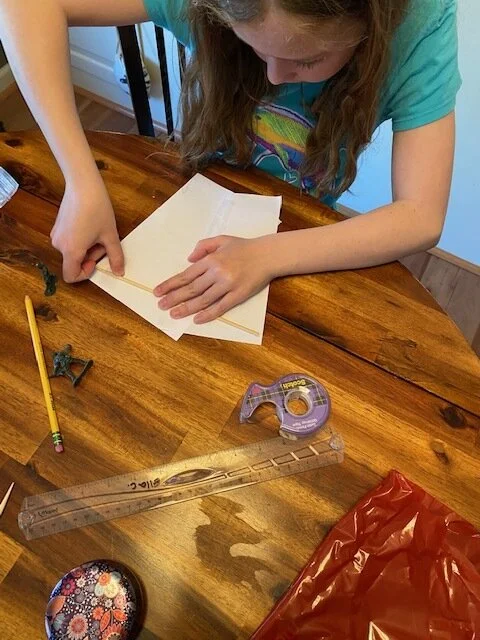
Overall the directions are very straight forward, but I have a few tips that will save you time. In step 1, make sure you fold the paper the short way, or in other words, fold so that the top of the paper meets the bottom of the paper. That wasn’t clear in the directions. In step 3, when you fold the paper along the line you drew in step 2, I suggest you fold the paper back and forth a few times. It will make the rest of the project easier to complete. The rest of the directions are simple and easy to follow.
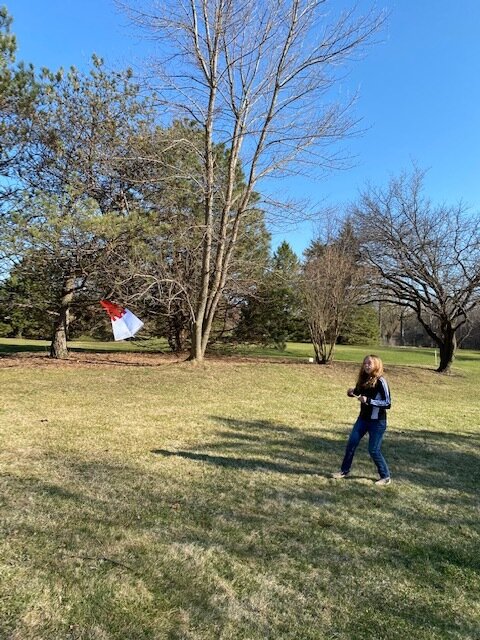
The big question is, does it work? The answer is yes! We were presently surprised with how well the kite functioned, held together and flew. Definitely a fun activity that your kids will enjoy. Just in time to go out and fly a kite on Easter Sunday!